Our Education Center
Check out some of our helpful tips, tricks, and advice on all things painting!

Wallpaper Removal: Do's & Dont's
Tired of the outdated wallpaper in your home and eager to give your walls a fresh new look? Removing wallpaper can be a daunting task, but armed with the right knowledge and techniques, you can transform your space into a blank canvas for your creative ideas to flourish. In this article, we'll explore the do's and don'ts of removing wallpaper, ensuring you achieve a smooth and successful wallpaper removal process.
Before embarking on the wallpaper removal journey, make sure you have the following tools and supplies handy:
Wallpaper scoring tool: Used to perforate the wallpaper and allow the removal solution to penetrate.
Drop cloths or plastic sheets: To protect your floors and furniture from debris and moisture.
Spray bottle or wallpaper steamer: For applying water/steam to loosen the glue.
Putty knife or scraper: To gently lift and scrape off the wallpaper.
Sandpaper: To smooth any rough patches on the wall after wallpaper removal.
Sponge or rag: To wipe away excess adhesive or residue.
Safety goggles and gloves: To protect yourself from debris and any chemicals used in the process.
1. Don't Rush the Preparation Phase: Proper preparation is essential for a successful wallpaper removal. Take the time to clear the room of furniture, cover the floor, and remove any fixtures or switch plates. Cover electrical outlets with tape to protect them from moisture. Additionally, test a small section of the wallpaper to determine its type and understand the best removal method for your specific wallpaper.
2. Do Score and Soak the Wallpaper: Once you've prepared the room, it's time to score the wallpaper. Use a wallpaper scoring tool to create small punctures in the wallpaper, allowing the removal solution to penetrate effectively. After scoring, spray water or use your steamer to help loosen the glue from the paper and walls.
3. Don't Rush the Removal Process: After the removal solution has had time to work, start removing the wallpaper. Use a putty knife or scraper to gently lift and scrape off the wallpaper. Work in small sections and be patient. Avoid using excessive force, as it may damage the wall underneath. If you encounter stubborn areas, reapply the removal solution and allow it to soak a bit longer before attempting to remove the wallpaper again.
4. Do Take Precautions for Older Wallpaper: If you're dealing with wallpaper that is several decades old, it may contain harmful materials such as lead-based paint. In such cases, consult with a professional or follow proper safety guidelines to avoid exposure to hazardous substances.
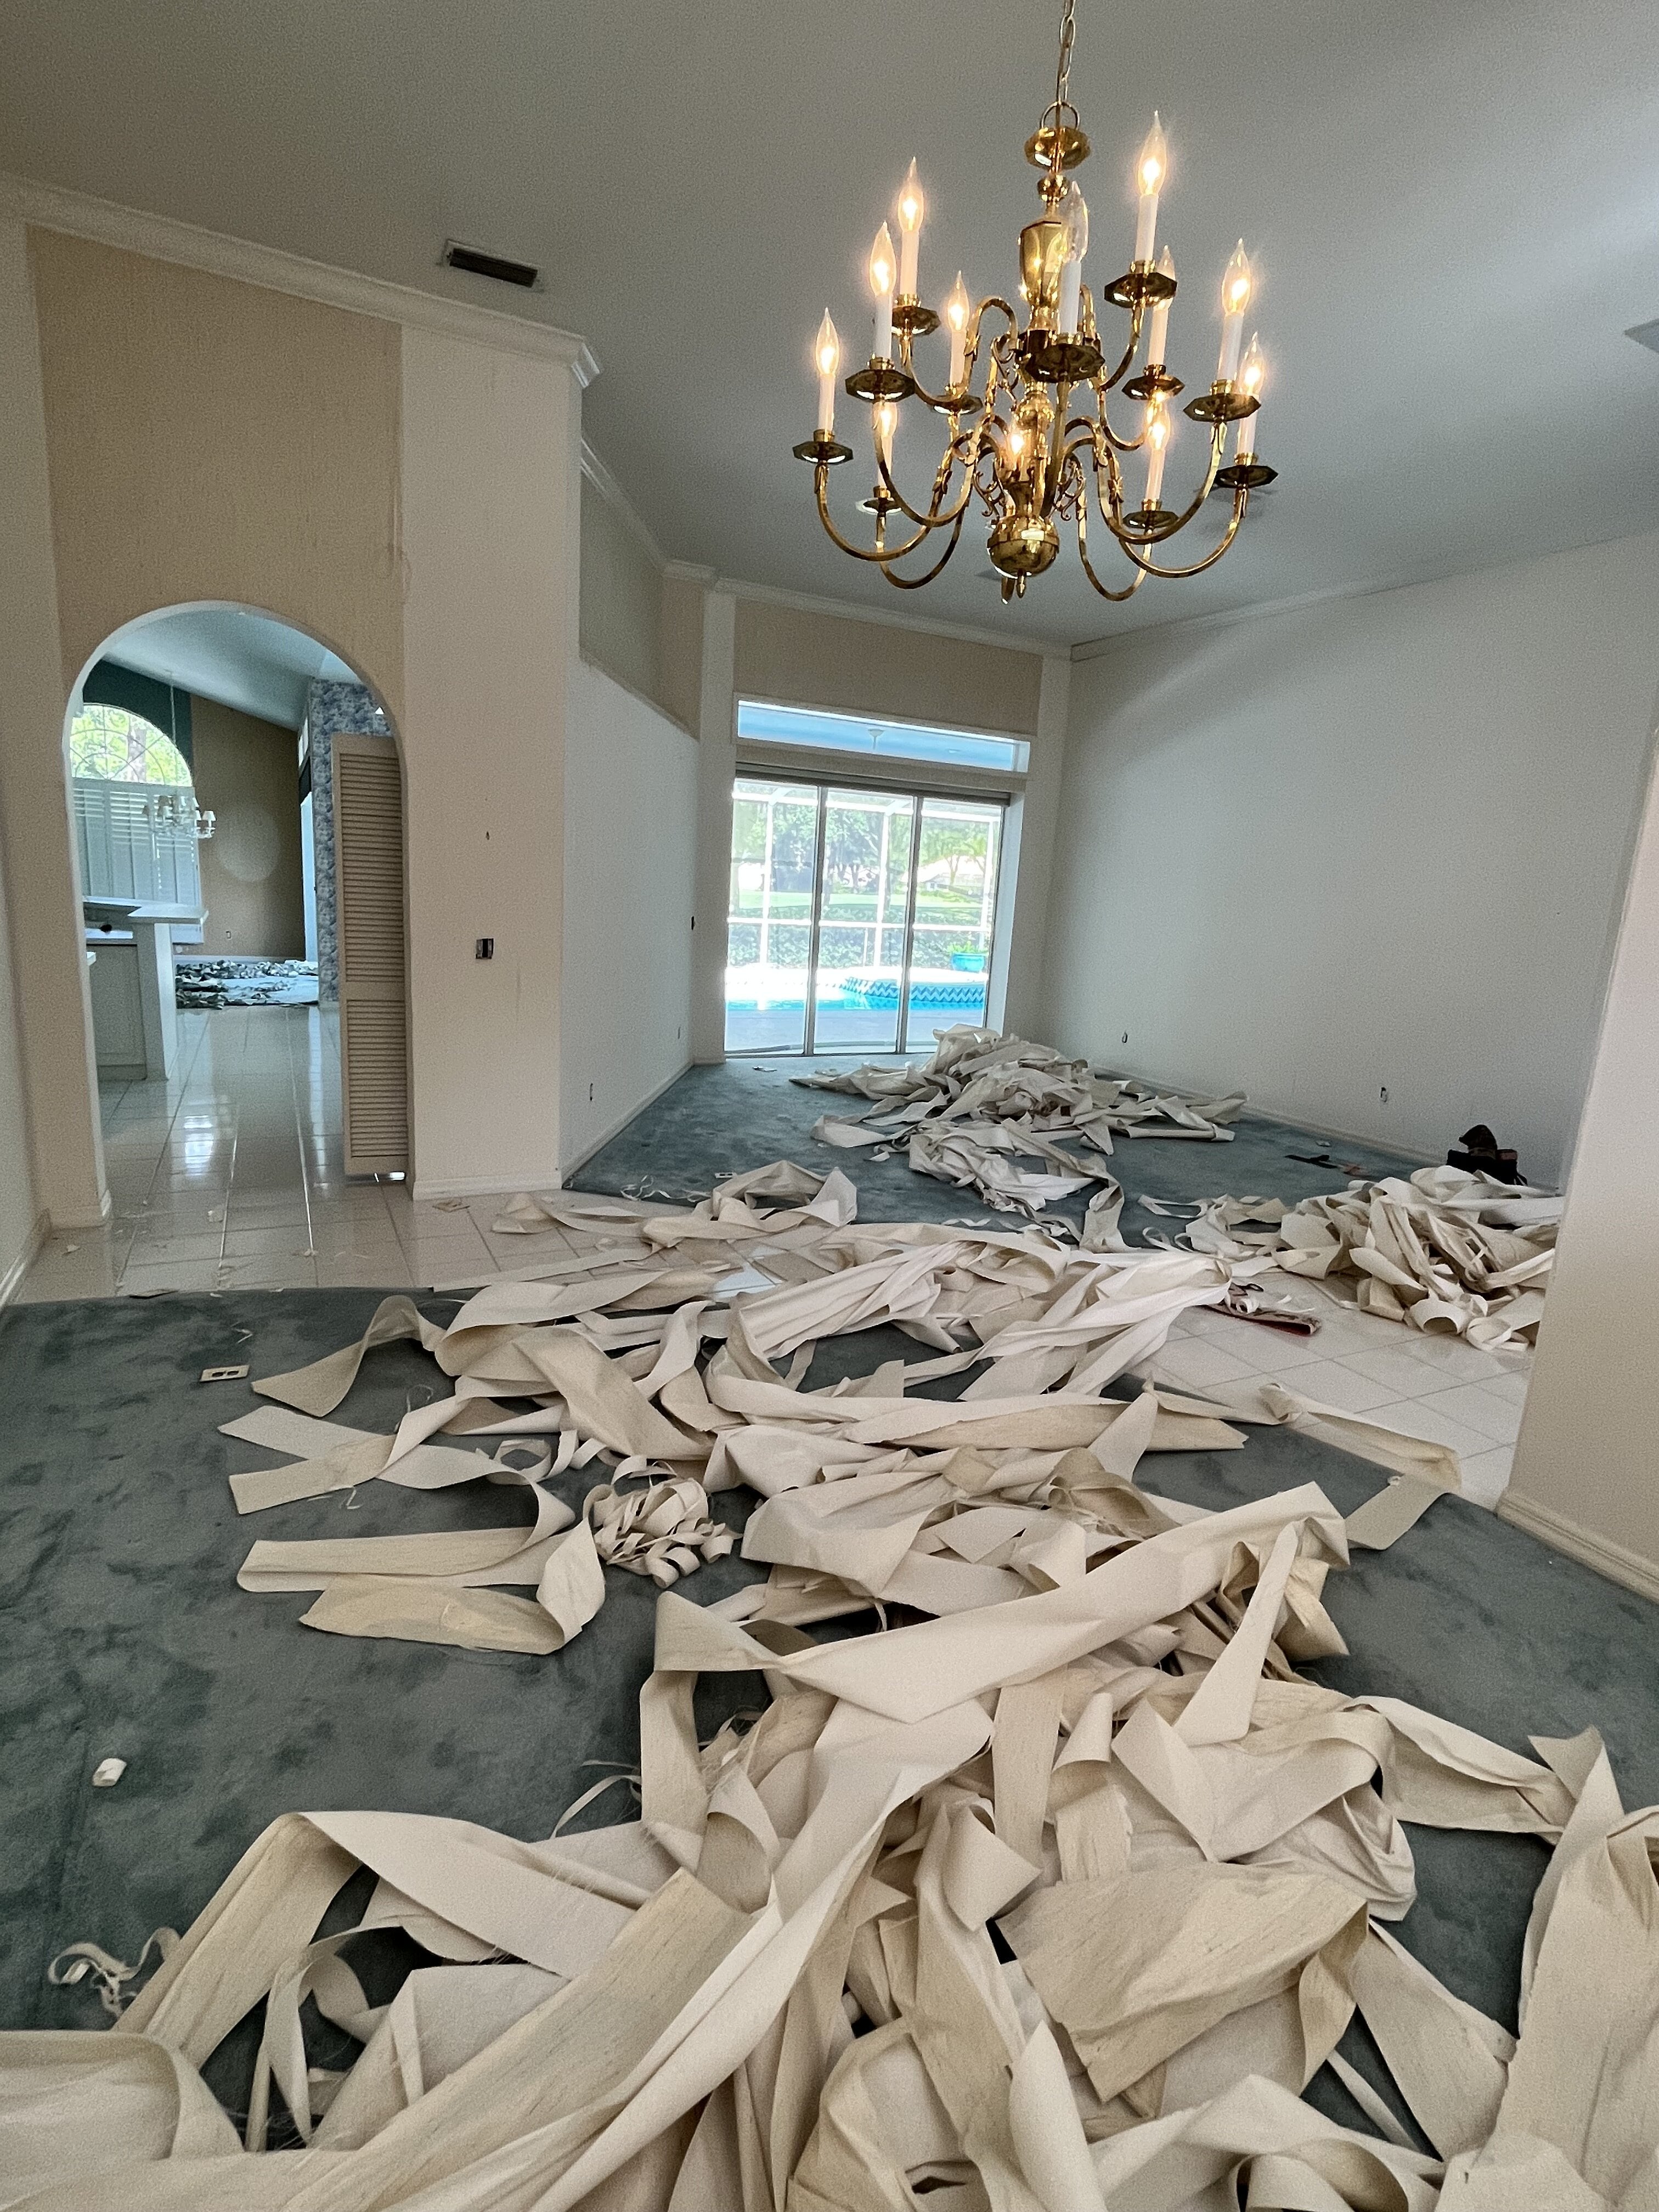
Removing wallpaper may seem like a tedious task, but with the right approach and tools, it can be a manageable project that leads to a fresh and updated space. Remember to gather the necessary supplies, prepare the room adequately. Want to see how we remove wallpaper?
Click Here!
How Our Painting Services Work
Painting your home doesn't have to be a hassle. Our goal is to provide you with a carefree experience by treating you and your home as if it were our own. Take advantage of our process and enjoy the transformation of your home or business while you sit back and relax.
1. Contact Us
Reach out to us to by either filling out our online form or call now to talk about your latest painting project. One of our team members will discuss the colors, textures, and rough cost. We will also plan an in-home consultation to give you a cost and time estimate.
2. We Get Started
After all the details of your project are finalized, we’ll begin prepping all surfaces to be painted and get started. While we paint your home, we’ll keep you updated with the progress of your project and our project lead will perform a final walk-through with you to ensure you are completely satisfied.
3. Enjoy!
Now it’s time to celebrate your new home with fresh and vibrant colors. Enjoy an increased curb appeal and an appearance that will last for several years to come.
WHAT OUR CLIENTS HAVE TO SAY
FOR PROFESSIONAL PAINTING SERVICES IN TAMPA BAY, CONTACT OUR TEAM TODAY!

Follow Us
Follow Us
Welcome to Total Quality Painting. We are a residential and new construction painting company located here in Tampa, Fl. Our mission is to provide high level customer service, communication, and workmanship to make your house feel like home.
Services
About
Contact Us
5668 Fishhawk Crossing Blvd Suite 323
Monday - Saturday, 8:30 am - 6:00 pm
© Copyright 2025. Total Quality Painting. All rights reserved.

